
These particular ones are interesting but are not really to my liking.
The next one, developed from a stylised version of one of the engravings on a gravestone in Holland produced a wonderfully dynamic shape which I can definitely imagine using at a later date.

The next ones were developed from the earlier shape exercises in Chapter 4. The solid simplicity of the first shape instantly appealed to me, perhaps because of the gorgeous background colour, but I could not immediately see a way of developing it.

By now I was in my stride and had great fun with the designs I developed from the brass screen on page 35, which has always reminded me of a peacock feather. I think the designs have an "Art Nouveau" feel to them and I especially like the contrast between the straight, regular lines and the eliptical shapes in between.


Annoyingly, I can no longer remember where I took the tracing on page 95 from. To me this is definitely a prehistoric cave painting of a dog and I just love the simple lines.


I then went back to my church tower drawing with its strong, geometric shapes and selected an area to trace. I then traced the same section again the other way up and combined the tracings into one.

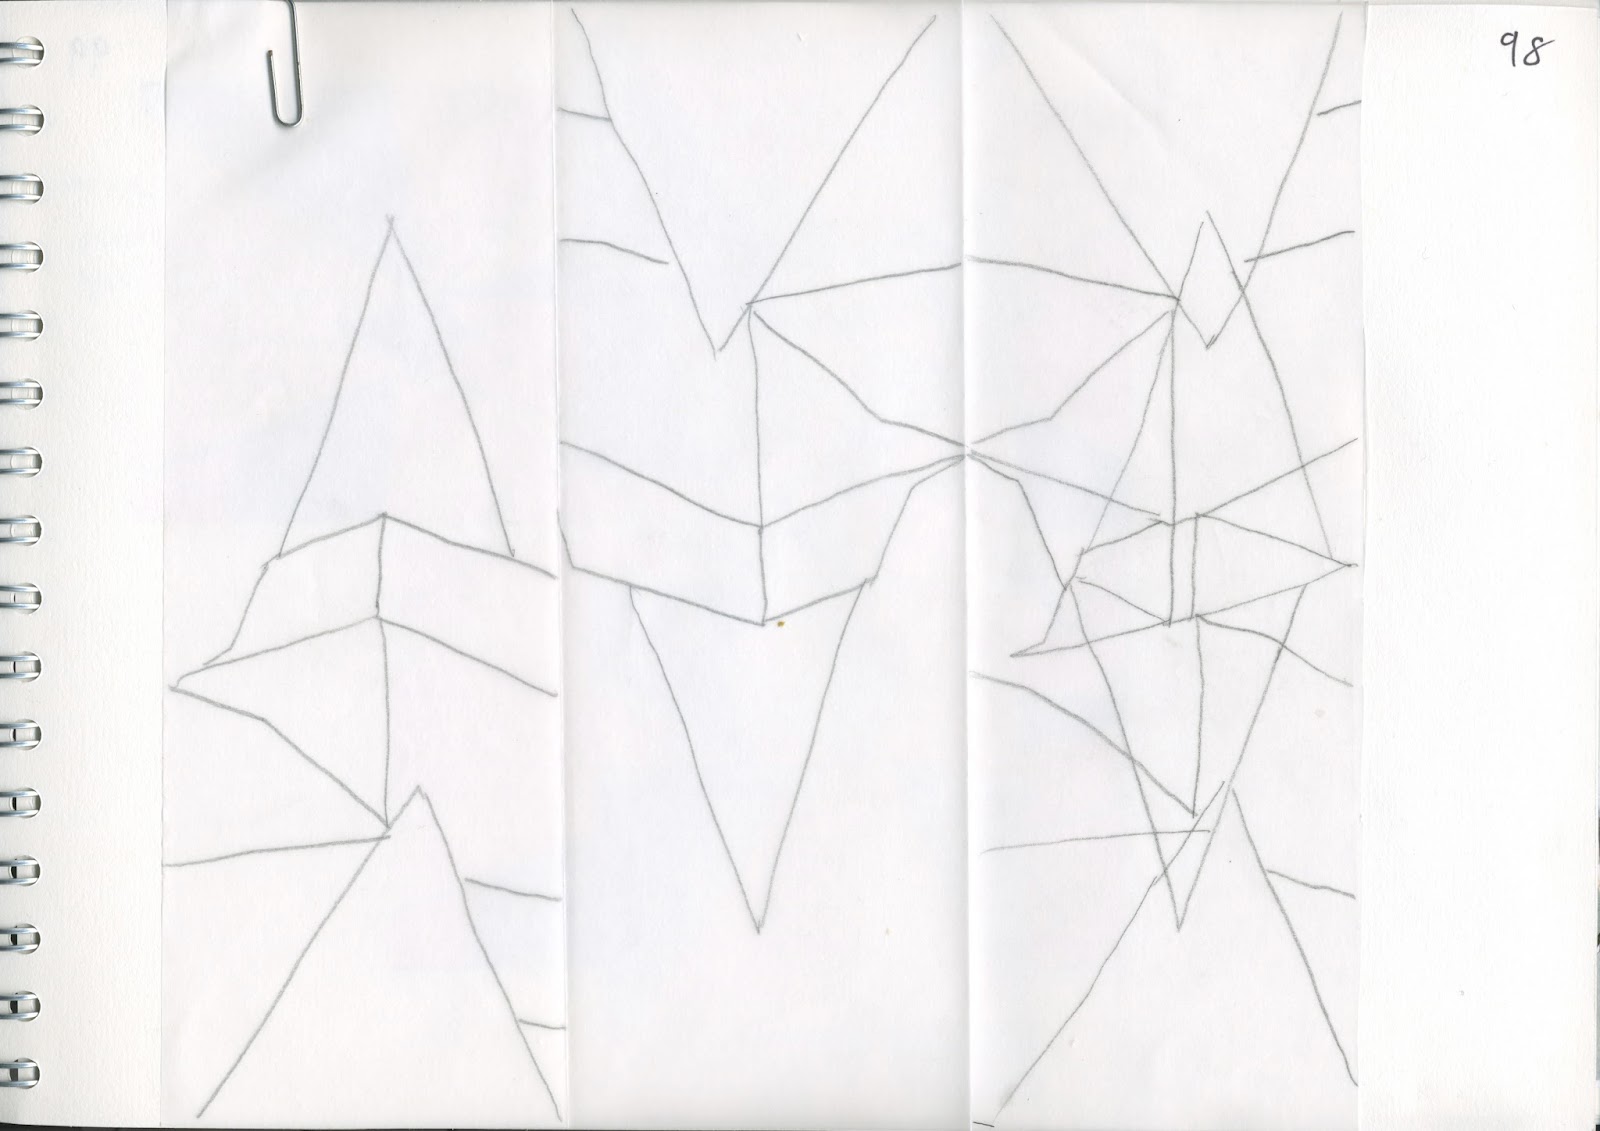
I reproduced this combined tracing onto cartridge paper 3 times and coloured each version differently. I then made a copy of the coloured version and manipulated it. In the case of the first, I cut the piece into 6 horizontal strips and reassembled them.

I cut the next one into 4 vertical strips (although shown here horizontally for space reasons).

In the final version I used a round paper cutter to remove circles which were then repositioned elsewhere in the design. Unfortunately my large paper cutter must be a bit blunt as it mangled some of the shapes, but the overall effect is still visible.

I then returned to following the chapter more closely and decided on my "recipe words": arch, point, diverging/converging lines, teardrop, square grid. I was unsure how to use them but decided to take one of my earlier designs and amend it in line with the design criteria. I took the shape on page 92 and enlarged it before making the changes. The resultant shapes were then used as templates for the version shown, which meets the criterion of being made of light values with one dark area.

For the examples for the next exercises, I used a printed version of the same design and gouache. Top left shows the use of analogous colours with one area in the complementary colour. Unfortunately the blue-greens are so analogous that they do not show up very distinctly in the scanned copy!
For the other 3 examples, I decided to work with a different pair of complementary colours for a change. The colours definitely "pop" more when there are unequal proportions of the colours.

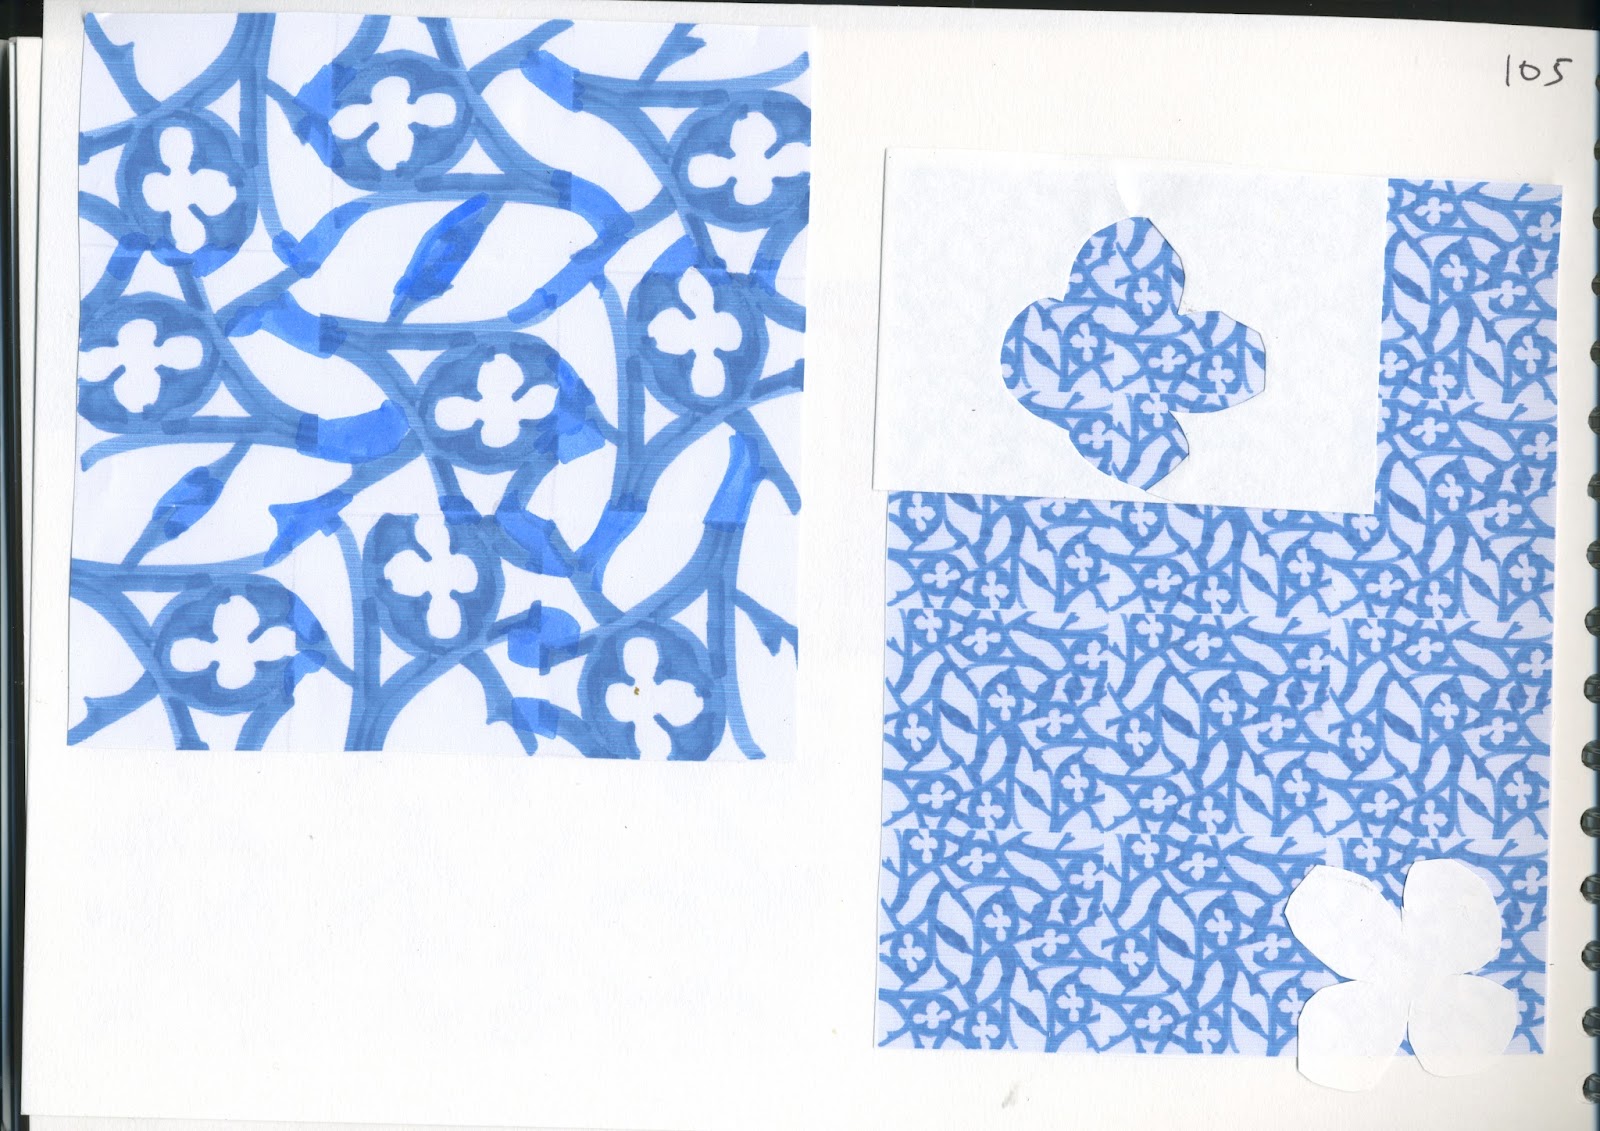
The next designs are an illustration that your mind is always working, even when you think you are doing something else! I was in the middle of translating something for the EU when I suddenly had an idea about a section of a photo which would make an interesting design. I drew it out there and then with what I had to hand - initially pencil, then highlighter pen. I scanned in the image and arranged multiple images at random in a Word document to form a series of tiles. I then joined these together to make a single, more coherent tile and again arranged the images as tiles in a Word document. The end result reminded me of the sort of beautiful tiles you see in North Africa.

I then went off on another tangent to revisit the idea of grids. I did quite a lot of work on this during my Certificate course and love the idea of distorting a given shape in order to make it fit into a grid. This seems to work best with simpler shapes, such as the gravestone/person. Square grids can also be applied to circular shapes. The additional traced circles are from tracings of interesting pieces of the original drawn grid.


I was initially unsure how to approach the texture part of this chapter but ideas usually come once I start and so it was again in this case. In the first sample, I cut teardrop shapes from craft foam and stuck them to stiff paper. I then covered the whole thing with PVA glue and pressed fine tissue paper over the top, taking particular care to ensure that the shapes did not lose their definition. A smear of treasure gold applied from just one direction (not so obvious on the photo) highlighted that side of the relief and also highlighted the wrinkles in the tissue paper. I love treasure gold but this was also a good reminder not to be too heavy fingered as a little goes a long way! Fortunately this has been hidden on the sketchbook page.

In the next sample I first made a grid with appliglue and then sprayed it with Brusho shimmer spray. The superimposed window arch is also made from craft foam coated with treasure gold.

For the final sample I cut an on-point grid from paper and sprayed it with Brusho. I then found that I also liked the background paper on which the grid had acted as a template so I decided to use that as well. The blue is a nappy liner sprayed with Brusho and manipulated to form a rough grid.

The three together form a pleasing arrangement in my sketchbook.

I also made a similar grid using modelling paste but I suspect that it will be some time before it is sufficiently dry to do anything with!
No comments:
Post a Comment